Thunder & Lightning
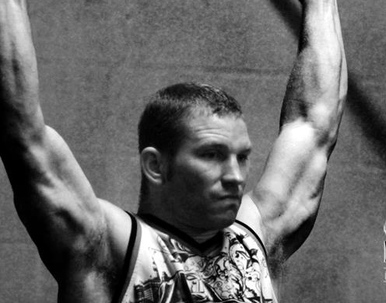
The Thunder & Lightning Program is a solid combination of strength and speed training. Its an 8 week cycle. Essentially we have 2 days a week of HEAVY lifting and 2 days a week of speed and conditioning with accessory work. It is my recommendation that you train hard on Monday, Wednesday, Thursday and Saturday. The other days can be rest days or just get in light full body stretching, playing basketball, hiking or any other activity that you enjoy. But in reality, you just got to make time around your busy lifestyle that works best for you. I will delve more into the details as we go. Below is a Stretching Anatomy PDF file that I think will be very helpful.
| stretching_anatomy.pdf |
Day 1
1. Push Press - 5x5
2. Squat Variation - 5x5
3a. Handstand Hold - 5x max time
3b. Dead Hang - 5x max time
4. Single Leg Squat (SLS) - 3x8-10 each leg
NOTES:
1. On the last set do as many reps as possible without letting your form go to shit
- you can sub the press, bench, HSPU, DB or KB, planch push ups, etc
- prioritize your movement based on your situation.
2. I prefer back squat for max strength, but choose the exercise based on your needs and abilities and equipment
- last set amrap
3a. From Coach Sommer:
Wall handstands are your most valuable tool for learning a correct handstand. I recommend staying with them for a substantial period of time. This will accomplish several things:
1) It will make it easier to maintain a straight body line (no arch or pike in either the shoulders, back or hips).
2) You can focus on learning balance and not on survival.
3) Your strength will improve more quickly due to being able to stay in the handstand for an extended period of time.
To transition from wall handstands to free standing handstands, try the following drill: Perform a wall handstand with stomach to the wall. Place your wrists approximately 4-6" from the base of the wall. Keep one foot on the wall while pulling the other foot off the wall and extending that leg directly over your hips. At this time, your wrists, shoulders, hips and leg that is off the wall should be in one vertical line. Once you feel that you have achieved a strong stable position, slowly pull your supporting foot off the wall. When you lose your balance, simply catch yourself by replacing the foot on the wall and then continue on with the drill.
Once you have achieved a reasonable level of proficiency with both versions of the wall handstand, learning free standing handstands will be much easier.
For free standing handstands, there should be no movement in the legs, hips, back or elbows while in the handstand. Concentrate on keeping the body straight and "tight". The more parts of your body that are moving, the more difficult the balance will be. Focus on controlling the handstand with your shoulders and wrist/fingers.
While in the handstand, you should picture your hand as having three sections: the palm, the fingers and the heel of the hand. When on balance, you should feel your weight comfortably placed in the center of your palm with your shoulders directly over your hands. If you are falling over backwards, keep your body tight and attempt to pull your feet back up by pressing your fingers strongly into the floor and pulling your shoulders back over your hands. If you are falling forward,, press strongly into the floor with the heels of your hands and attempt to partially planche press back to the handstand position.
In reality, the handstand is not a non-moving position, but a series of rapid minute corrections between the three positions (over, under and vertical) to maintain the balance. All movements should be small and controlled. Try to avoid making rapid or large corrections.
There is no reason to crash while training a handstand. If you find yourself falling over, simply bend your arms, duck your head and do a forward roll. Be sure to train in an area that is suitable and has enough room to manuever in case of mishaps.
3b. hang from a pull up bar or rings
- use a snatch grip, supinated grip, etc.
- make it harder by maintaining a hollow body
4. - pistols, lunges, sprints, rocking deck squat, etc
Day 2
1. 2 KB Snatch Ladders - 5x5+5+5
2a. Skin the Cat - 3x3-5
2b. TGU - 3x3-5 each arm
- Steve Cotter TGU
3. 2 KB Complex x 5 rounds
- 5 cleans
- 5 presses
- 5 squats
- 5 swings
NOTES:
1. light, medium & heavy- snatch a light pair for 5 reps, then the medium pair for 5 reps, then the heavy pair for 5 reps, thats one set
- rest a minute between sets
2a. From Gymnastic WOD:
- Start in a dead hang position with body hollow and hands turned out
- Do a toe raise and allow the feet to continue through your elbows
- Stay in a pike position and send toes toward the ground
- Finish in a hollow body position and arms in full extension
- Tuck your head in and bring thighs to your chest as you initiate the rewind
- Finish with hang in hollow body position
Skin the cat is a sequence of movements that works basically every muscle group from the mid-thigh up, while providing an excellent shoulder stretch as well. Starting in a hang and keeping your arms and legs straight, lift your toes up and back overhead, through a piked inverted hang. Then, continue to lower your toes slowly toward the floor behind you. This hanging position is called a skin the cat. At first you will want to practice this movement with the rings low enough so that you will be able to touch the floor with your feet as you lower toward the skin the cat position. This will enable you to safely get a feel for the movement. From the skin the cat position, lift your hips and pull out back through a piked inverted hang and lower to hang. Once you have some experience, you can raise the rings and lower into the skin the cat clear of the floor and then pull back out. Try to relax your shoulders at the bottom of the skin the cat to get a good stretch and truly find the bottom of your skin the cat. This skill works as an excellent part of a warm-up, or can be used in a conditioning set when done for repetitions, even if you find one or two reps easy, they add up quickly as part of a workout.
2b. Gray Cook TGU
http://www.youtube.com/watch?v=l-MMnltV1h8
Day 3
1. Muscle Snatch - 3x5
2. Deadlift - 3-5x5
3a. Body Row - 3x submax
3b. Deathmarch - 3x10/10
4a. Pullups - 3-5 x submax
4b. Abs - x3-5 sets
2. Deadlift - 3-5x5
3a. Body Row - 3x submax
3b. Deathmarch - 3x10/10
4a. Pullups - 3-5 x submax
4b. Abs - x3-5 sets
Day 4
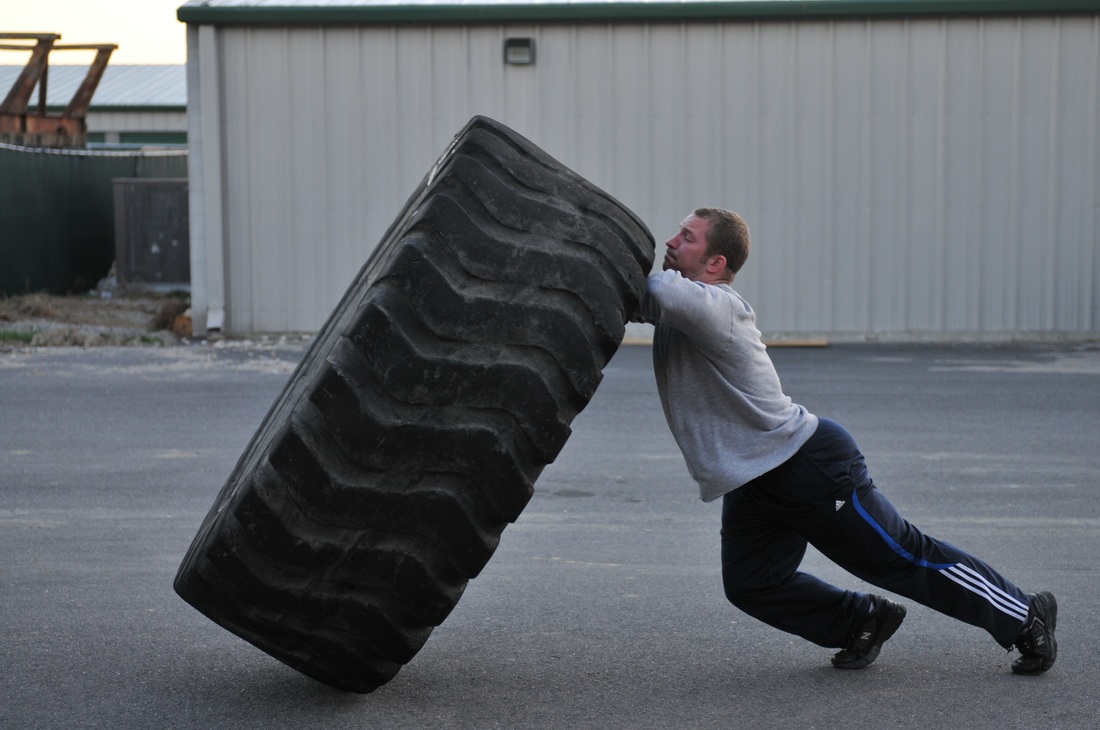
1a. Power Push Ups - 6-8x6-8
1b. Sprint - 6-8x40-60 meters
2. 1 KB Clean & Jerk - x25/25/15/15/10/10
3a. Goblet Squat - x20-15-10
3b. Plank hold - 3x60 seconds
Notes:
1. push up as hard as possible
- you can clap, slap or tap all you want, but all that matters is that you drive off the ground as high as possible
- as soon as you finish your last power push up, get the hell up and sprint hard (after a proper warm up)
2. the video is with 2 kb's, but just use 1 and alternate hands for appropriate reps
3. goblet squats for mobility and planks for stability, open up, tighten down, pretty simple really